I am not a pattern writer, but this is pretty simple and straight forward. SC Full size afghan with stripes same color as masks. Make a giant pair of eyeballs, eyes with an attached mask and then applique to your afghan. I have included my instructions for my own use and if you want you can use them too! Please be kind and do not resell the pattern, but feel free to sell anything you make! I hope at the least, you are inspired to come up with something unique! :)
=========================================================
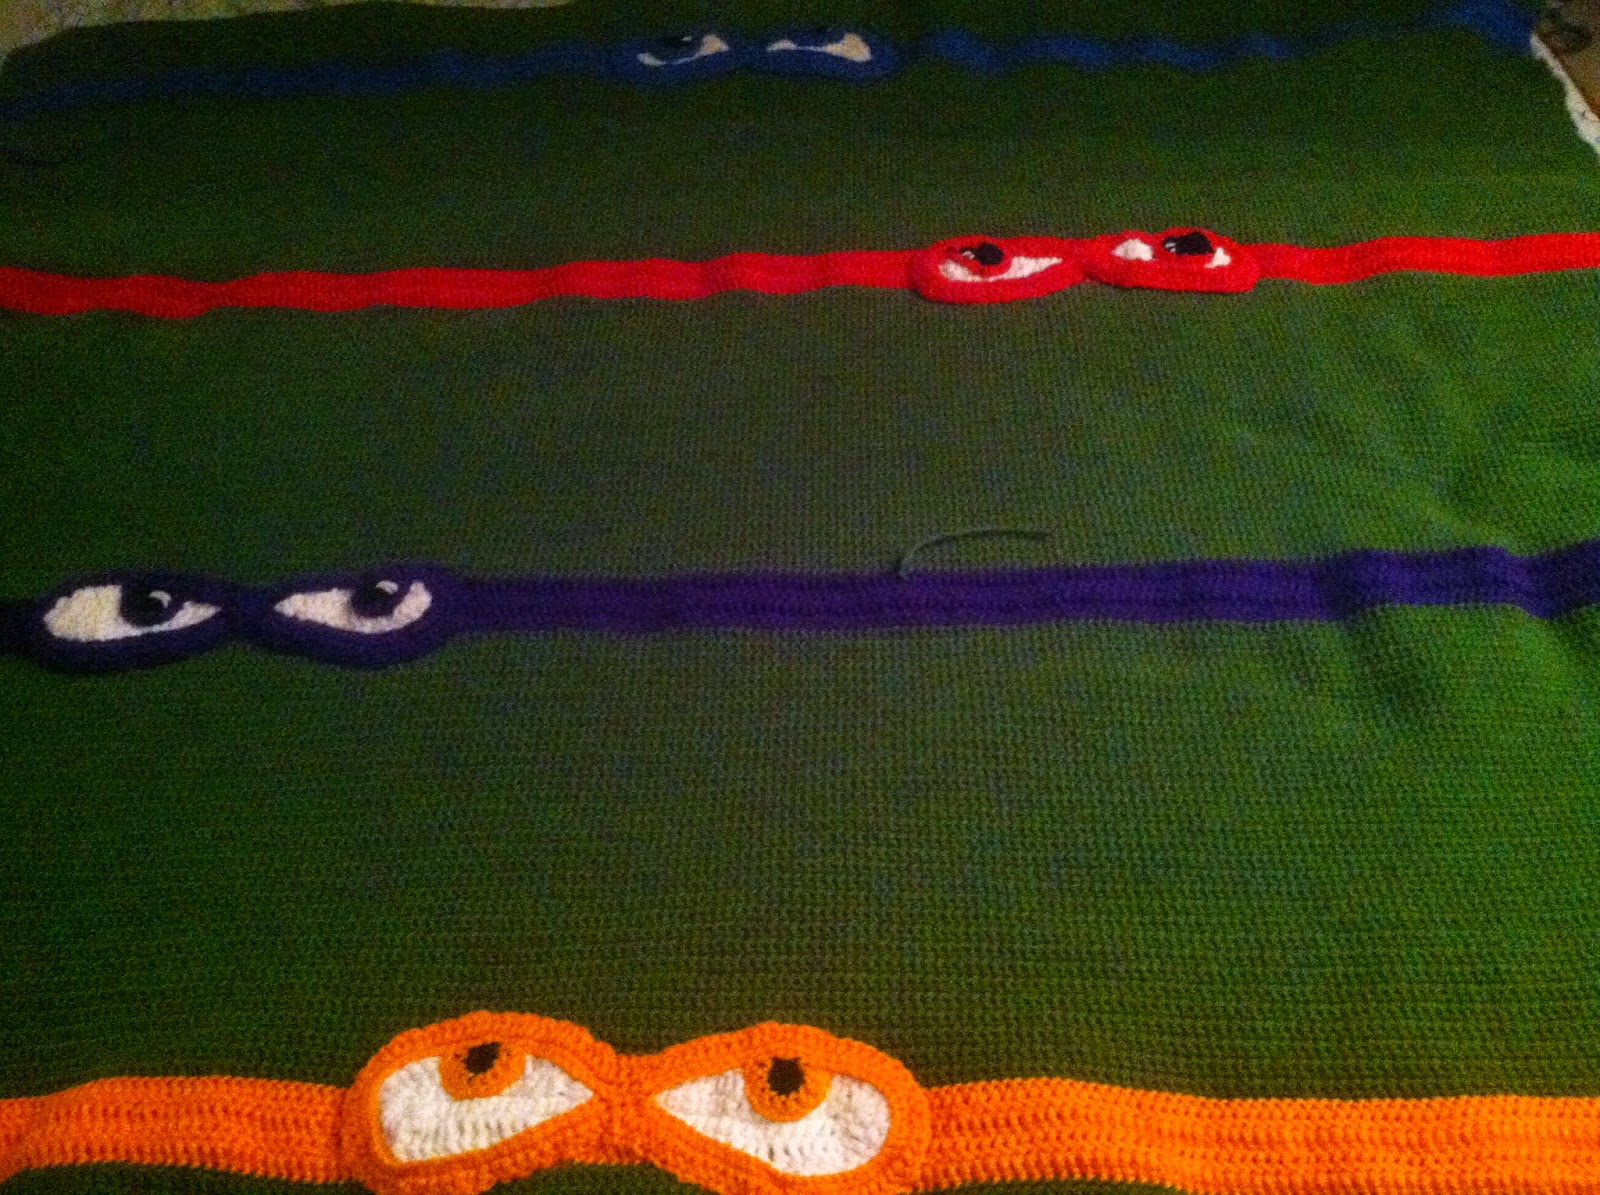
After conducting research online for TMNT things to crochet for my 7 year old grandsons, I decided to come up with my own version of a TMNT inspired afghan. The yarn I chose was Medium Thyme Green in conjunction with the TMNT stuffies I made for them, these will be part of their Christmas presents for Christmas 2015. The afghans are full size since I wanted to make sure that they are indeed large enough and the boys are growing SO fast! Did I mention they are identical twins? Well, indeed they are so what is made for one must also be made for the other. You know what they say; double trouble or, in this case, double the afghans!
The afghan is a basic SC 251 stitches across and will be approximately 300-320 rows when complete. I started at the top with 26 SC rows of green and then incorporated my first mask. I then have 64 SC rows of green between each color change. To date, I have about 10 skeins of Medium Thyme Green invested in the first of two afghans. That's a lot of green!
Eyeballs -- Make two -- black, MR 10, join to first stitch with slip stitch, SC 1 and SC all the way around, sl stitch join and add mask color to the black of the eye and SC BLO all the way around,, slip stitch join, finish and set aside.
Whites:
Make two -- Chain 16. Skip first stitch and HDC in next two stitches, DC in the next 5 stitches, Tr in remaining 8 stitches to the end. Tr 3 more times in the last stitch (you will have 4 total TR stitches in last stitch). Now, work the other side in reverse .... Treble 7, DC-5, HDC in last two stitches. Join Mask color to corner of whites of eyes and SC...when you get the big round end, 2 SC (increase) in two of the end stitches so that your eye will not curl. When you get to the point in the whites of the eye that you wish to attack the eyeball, place eyeball, pin to hold in place and SC through all layers of eye to secure. We will sew the other part of the eye later, but this will ensure a solid join that will last forever.
Mask-- the mask colors are red, orange, purple, blue
Once you have made the eyeballs, you have made the whites of the eyes, in the corner of the whites slip stitch with your mask color to change colors. Now, single crochet all the way around the eye (don't forget to position eyeball when you get to that point, pin and crochet through all layers to attach). Once you have gone around the entire white portion of the eye with your mask color, single crochet one time and then sl join to the other piece of eye whites and continue to SC all the way around. Once you are in the corner and have completed your SC begin a row of DC starting with the SC between the two white portions of the mask. On the big part (with all the trebles) of the DC round, at the end DC twice in one stitch, DC, DC twice in same stitch, DC, DC twice in same stitch and continue rx DC all the way around until you have completed the first eye and are now back in the center (top) where the SC stitch resides between the two eyes. TR in that stitch and resume DC all the way around the second eye, slip stich to center SC, cut and finish. If you mask ensemble is curling, do not fret, you sew it down and that will eliminate any curling. ;)
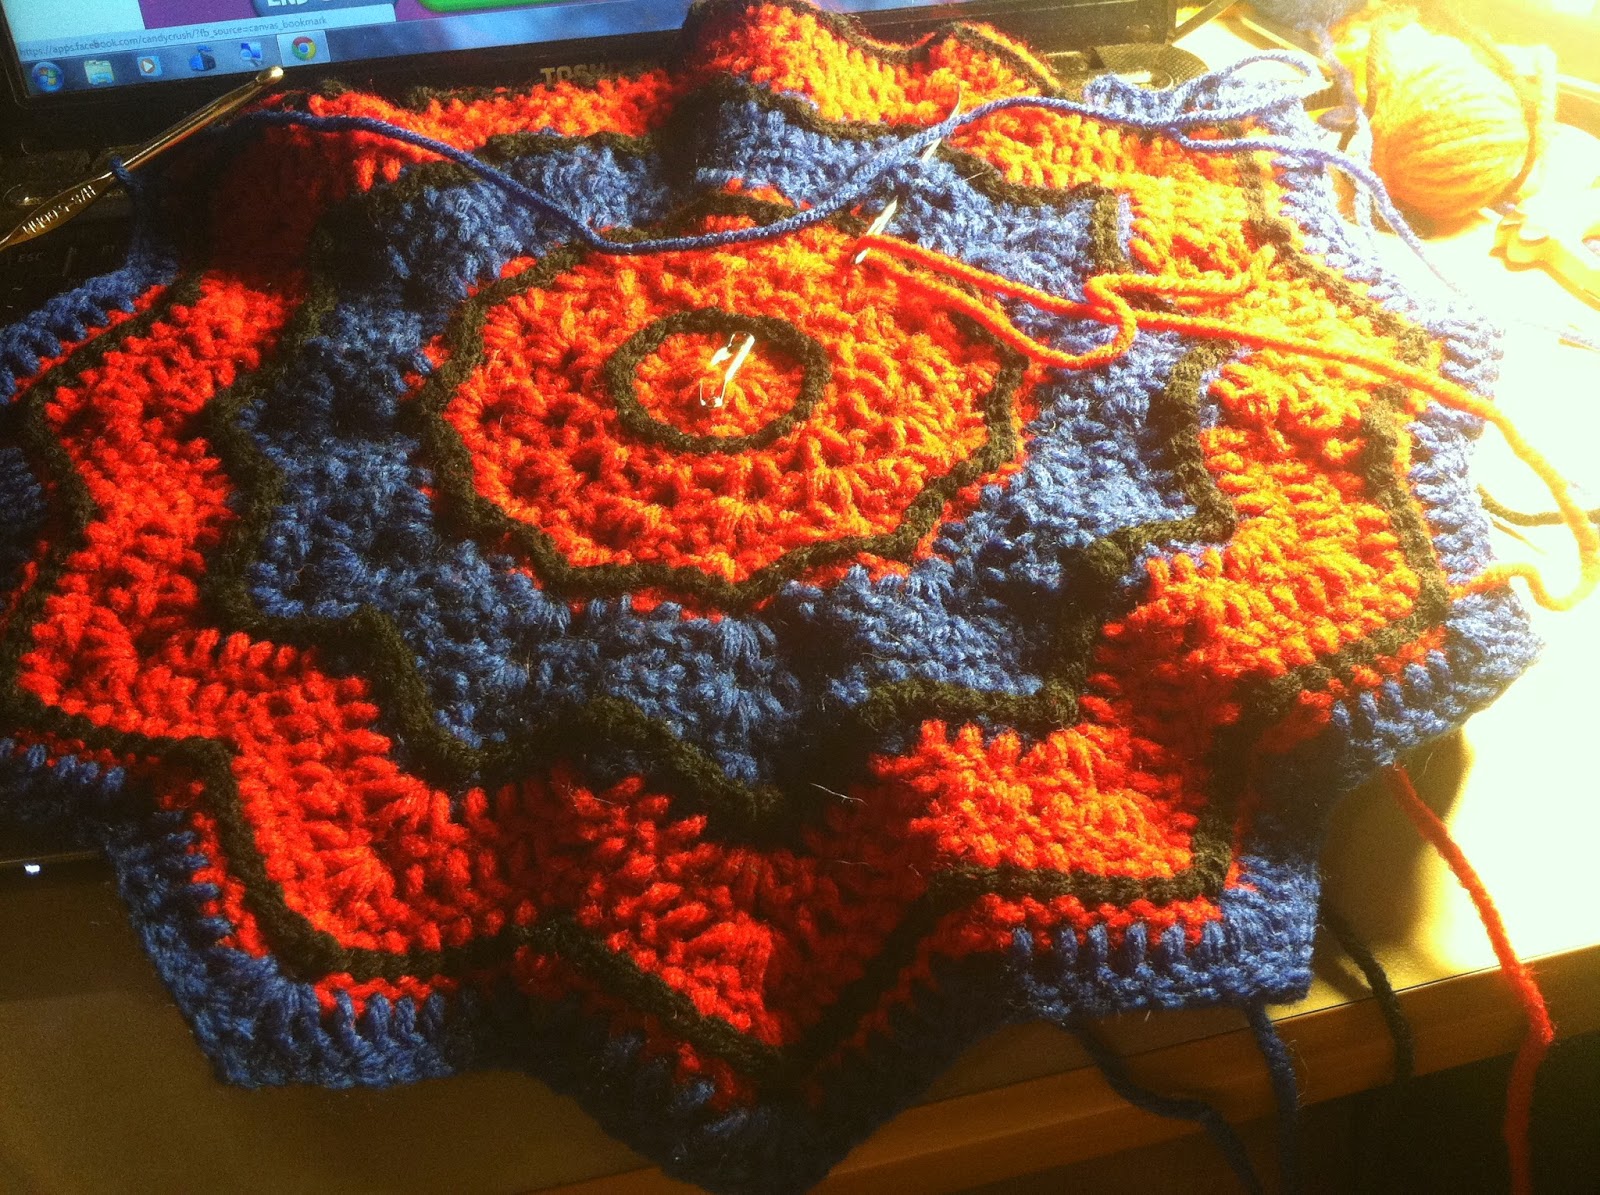
 |
| Blue, Red, Purple, Orange Masks added! Almost done! |
 |
| One Blue Eye complete! |
 |
| In progress! |
To make the ties:
SC 8 out of same color as stripe and mask, SC in 2nd chain from hook, HDC , DC, TR crochet and then DC, HDC, SC.
Ch 3, repeat on opposite side. SC in 2nd chain from hook, HDC, DC, TR crochet and then DC, HDC, slip stitch in last chain.
Ch 1, SC in next 2 st, 2 SC in next 4, SC in next 2, slip stitch
Ch 2, now working other side, SC in next 2, 2 SC in next 4, SC in next 2, slip stitch.
SC in each stitch across, SC and slip stitch into last st., Chain 2, SC in next ST on opposite side, SC in each stitch across. SC and Slip st last stitch.
Tie off and weave in ends. Leave a tail long enough to attach and applique to afghan.
 Single crochet around with one SC in between the two pieces of white/eyeballs.
 Attach the eyeball by single crocheting through all layers at the top or bottom depending on what direction your eye is looking
 You wll secure the rest of the eye later, but for now and forever it will remain in place!

 This is a yarn threader and it is awesome!
 Now to SC around the second eye portion
 and here I am attaching the eyeball by SC'ing through all layers.
 In the end, you will end up with something that looks like this!m This mask portion has a round of SC and then a round of DC with a TR at the top in between the two eyes. ;)


 Before you attach the mask, weave and hide all the loose strings leave everything in the back where nobody will see!
 I love this yarn threader! It enable me to thread my yarn on a much smaller needle to perform sewing requirements or to just hide my ends. It's inexpensive, but a very valuable tool!
 My grandsons favorite turtle dudes are the blue mask and the purple mask. So for the sake of argument on whose is whose, I placed their favorite color turtle mask at the top and also put a border of their favorite color! In this case, one is blue and one is purple. It ttwill be a cinch to tell them apart..
So, I added Ethan David's name to his afghan.....

c