So to add the black as a ribbed row or a row that sits on top of the afghan you very simply need to slip stitch between the double crochet stitches. You will use the post of each DC to secure the stitch in place. It is also advisable to do these rows as you go and to pull each one up a little so that it feels more like you are single crocheting. You can tighten if necessary after making the stitch, but it goes a little faster if you loosen up and pull the stitch up and hold with your thumb at the base. I hope that makes sense. I think it will once you begin.
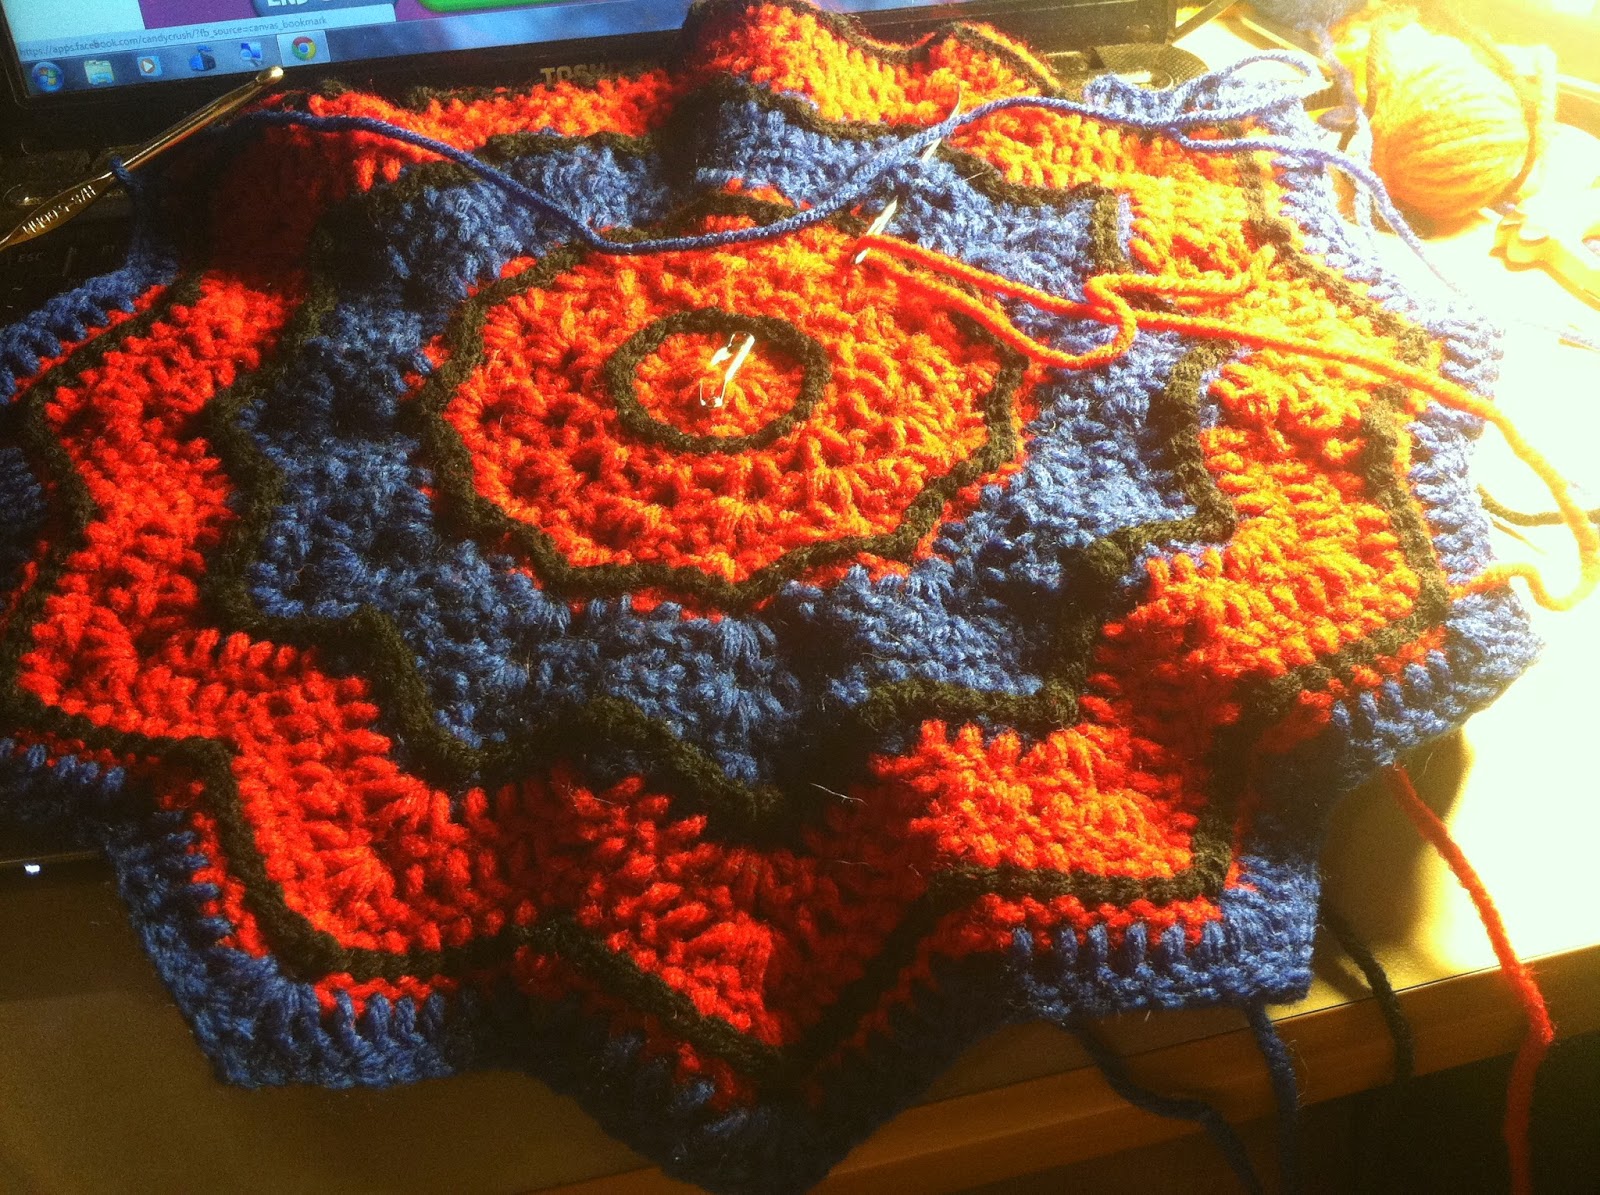 |
| Progress |

Spiderman Inspired Afghan Pattern <-----------Pattern is here or you can always find it on Ravelry. com here --------> Spiderman Inspired Afghan Pattern on Ravelry. If you check Ravelry, you'll be able to get all kind of ideas on what others have produced with this pattern. Have fun and enjoy the looks you'll get from your littlest spiderman fans. Your little guy will think you are a virtual genius! ha
Day 3 of my Spiderman Inspired Afghan It is about 26" in diameter now so I would surmise that I am approximately 50% complete, however, as the rounds grow bigger, the rounds will consume more time to complete. Nonetheless, I am well pleased with the speed in which this particular afghan is coming together!

 |
| Day 6-ish Progress |

I have no idea how many days I have been working on this because I put it aside for several days, but it is 48" around now and I have removed my center ring of webbing and added a big ole spider instead. I saw this on another afghan on ravelry.com and that is where the inspiration came from. Love how this is turning out, but it is quite large now. It takes me a day to get two rounds added, but really that is half a day because that's about how long I work on it at a time. So I guess you could say it takes a couple hours per round now. ;) I think my grandson will love this at Christmas and I am really excited to see his face light up!

This is the spider I created for the center. No pattern I just winged it. I made a chain of 11 and then added sl, sc, hdc, dc, tr. I added about two of each and on the last stitch I trebled 7 times to make the turn to the other side and then did the same stitches in reverse order. I used the G hook for the body and then switched to an E hook. I kind of eyeballed a head and slip stitched at the head/neck area to add the legs and then I just kept measuring the center area of the afghan until I had each leg in place and the desired length. I then appliqued this to the center of my afghan using black upholstery thread. I wrapped the thread around the head area and tied on the back side of the spider to secure it in place. For legs, if you want a bend in your leg, start a new thread and start at your bend. Secure the bend in place so that you will be able to move the rest of the leg to make a sharper bend on your leg and finish the applique process. I hope, if you are making this afghan these tips will somehow help you to make your own awesome spider! Good luck and I cannot wait for my little superhero to see this on Christmas morning! :D

First twelve lines of webbing are in place....tick tock tick tock....getting closer to the finish line! Woohoo!

....and on the 16th day of April 2015, I have finished! I inserted 24 lines of webbing instead of the 12 that wss suggested in the pattern and i think it looks much more web like. Spider is in place and I think he looks pretty great too. All that's left now is to finish hiding those ends and wait patiently until Christmas!
No comments:
Post a Comment