This shows how small the remaining hole will be when you have reduced the backside to close. I secured the yarn, cut and threaded on a tapestry needle to make it easier to to stitch around the opening which will allow me to pull the yarn in a drawstring fashion to complete the close.


Here I am just beginning to stitch around the opening.

My last stitch. I have stitched all the way around the opening and I am now ready to pull the yarn and close the opening.

I have pulled tightly and have closed my center. Now I just need to align the centers of front and back and stitch through all layers a few times, hide however much yarn I wish to hide, cut and complete!

I am now just going back through the centers (front and back) to make sure both centers are 100% closed up! You don't really have to do this step, but I am burying yarn anyhow so I am just making sure I have tight centers.
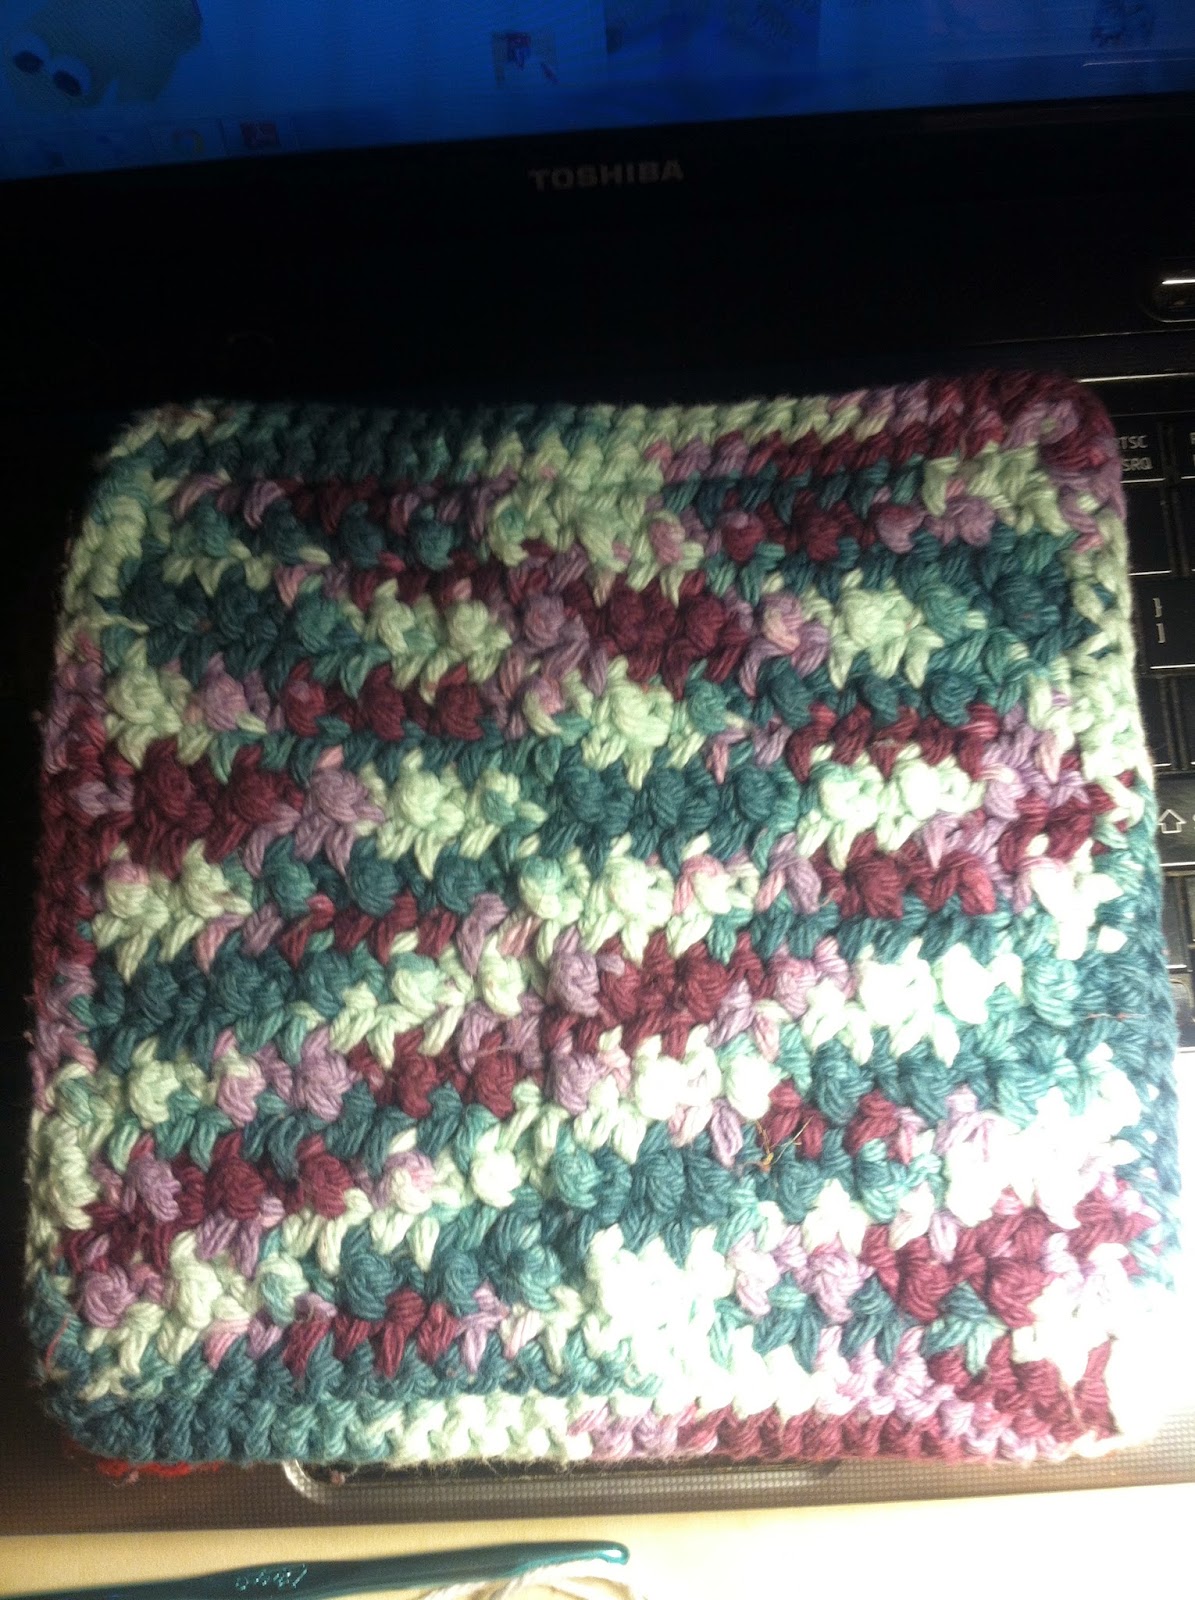
I love these things! They are very effective for cleaning and very fast to make. Make them a little larger than desired as they will shrink a bit in the washer. You live, you learn! ha
These are like the ever popular spiral scrubbies by Judith Prindle except they are not spiral and they are so simple a caveman could do it! These also work up extremely fast!
Make a magic circle and crochet 6 single crochet in the middle of your ring. If you hate the magic ring or can't quite figure it out, you can always chain 2, 6 single crochet in 2nd loop from hook.
Rnd 1: 6 sc in magic ring. —6 sts
Rnd 2: 2 sc into each st around —12 sts
Rnd 3: (Sc in next st, 2 sc in next st) around —18 sts
Rnd 4: (Sc in next 2 sts, 2 sc in next st) around —24 sts
Rnd 5: (Sc in next 3 sts, 2 sc in next st) around —30 sts
Rnd 6: (Sc in next 4 sts, 2 sc in next st) around —36 sts
Rnd 7: (SC in next 5 sts, 2 sc in next st.) around -- 42 sts
Rnd 8:(SC in next 6 sts, 2 sc in the next st) around -- 48 st.
Rnd 9: SC in each st around -- 48 sts
Rnd 10: SC in each st around -- 48 sts
Now you are basically doing the reverse side in pretty much reverse.
Backside
Rnd 1: (SC first 6 sts, SC2tog next two sts) around.
If you do happen to have extra stitches at the end, just SC in each spare stitch
Rnd 2: (SC first 5 sts, SC2tog next two sts) around
Rnd 3: (SC first 4 sts, SC2tog next two sts) around
Rnd 4: (SC first 3 sts, SC2tog next two sts) around
Rnd 5: (SC first 2 sts, SC2tog next two sts) around
Rnd 5: (SC2tog next two sts) around
If it doesn't come out even on any particular round, just SC in the "spares". It's not a big deal since these are for dishes/cleaning.
Leave tail long so you can finish, tie off, cut and make stitches all around the tiny open circular space on the backside, gather until closed. Flatten disc and align centers and then stitch through all layers front to back, back to front weaving in and out of individual strands from time to time to secure your end. Continue working your tail until you are confident it is secure, cut remaining tail and voila! Done!
Note: If you would like to make these bigger just continue adding one stitch before doing the increase (2 SC in next stitch) and then the same on the backside. On the backside you will subtract one and SC in each stitch and SC2tog in the last two stitches of that particular set of stitches. For example, if you stopped at 6 SC, 2 SC in next stitch, on the backside you would SC 5 sts, SC2tog and continue to decrease on the backside.
Good luck and have fun!