Saturday, January 23, 2016

Sewing for the grandkids

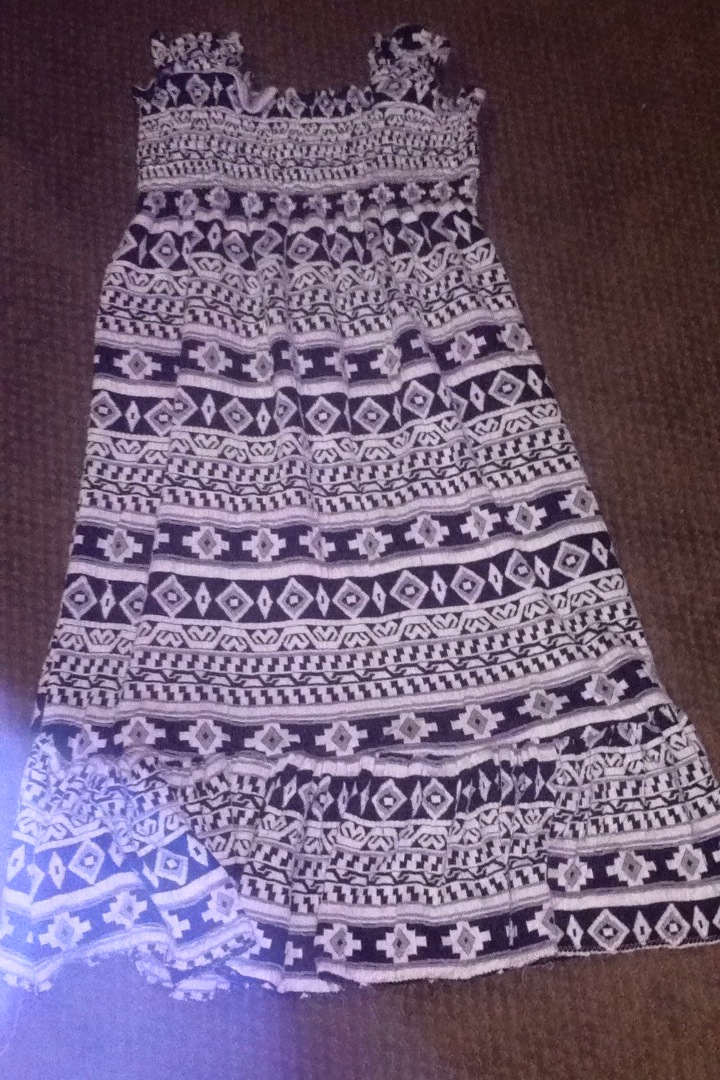
So after not sewing for quite sometime I have recently picked up the ole sewing machine and thread again.  Right now I am sewing for grandkids.  I seriously hope they fit since they are in NC and we are currently in KY.  It's all been done strictly by measurements.  Let's hope they don't grow faster than I sew!  :D


Sunday, September 20, 2015

Pro-Breast Feeding Beanies

I am currently working on newborn breast feeding beanies that I will list on Etsy.  I just started Etsy yesterday so I am working feverishly trying to work on new projects to upload and stock my store.


Thursday, July 9, 2015

Off Topic! My Madeline had surgery!

My 10 year old rescue pup, Madeline had to have a large tumor removed from above her eye.  This tumor was in the soft tissue and not attached to her eye.  It was causing her to have chronic eye infections so we opted to have the tumor removed.  Our first costs for this surgery was to the vet to have complete lab work done:  $130.00.  Next, we scheduled her surgery for July 2, 2015.  I dropped her off in the morning at 7:30 a.m., signed paperwork and left her looking like this .....


She does not have any other disease and what you see in her eye is the infection AFTER all kind of antibiotics and sauve for weeks!  That is why we opted to go the surgery route.  So about 3:30 p.m. we picked her up from the vet.  The vet told us that the little lump (as pictured above) was actually a tumor slightly larger than a golf ball!  Everyone was shocked by the size.  It left quite a pocket once removed and it had quite a good blood supply to it as well.  Of course, they cauterized the blood supply to stop the bleeding, but there was still massive amounts of blood that pooled to that area.  As a result, they had to leave a small slit in her stitched area to relieve the pressure of the accumulating blood which would need to be cleaned periodically.  Well, we did not know THAT part when we picked her up Thursday.  By Monday, the eye was bleeding quite much and we were really freaking out about it.  If your pet has such a surgery, please ask lots of questions regarding the care of the wound and what to expect.  If you fail to ask and have stumbled on this page searching for answers.... we took a clean paper towel, gently lay it over the eye area and apply a small amount of pressure with the palm of your hand and release the blood (pressure) onto the paper towel, fold reuse as necessary.  What you will see is blood, small clots....this is all normal, but the blood has no where to go so it is important that you do this step to keep your pet comfortable during the healing process.  The amount of blood will decrease as time goes on and your pet continues to heal.  

Anyhow, this was Madeline post surgery .... 


The last picture you see is exactly one week after surgery.  The others were taken a few days in.  When she first had her surgery it was so bad people believed she had her eye removed.  Lots of swelling, redness, dried blood....just a hot mess.  She has been taking two antibiotics every day and antibiotic cream for her eye AND wound twice daily as well.

She still has to sleep with her E-collar and will have to until her staples are removed.  She goes back in one more week to have her staples removed.  So they have to stay in for two full weeks.  Until then, she cannot be left alone without wearing her E-collar.  She doesn't mind too much.  She can drink and even eat with it on, but I usually take it off so it's not such a struggle for her.

Anyhow, if this helps you great!  If not, well, now you know a little more about my Madeline!  


This girl is kind of high maintenance....always something.... we have a sprained foot above which she recovered from a long time ago...years ago, but we have to keep an eye on it to make sure she takes it easy.  We could have it fixed surgically, but there are no guarantees even with surgery that it would be any different than it is now.  It works for her so it works for us as well!  <3


Sunday, June 7, 2015

Large Magic Pot holder for my husband


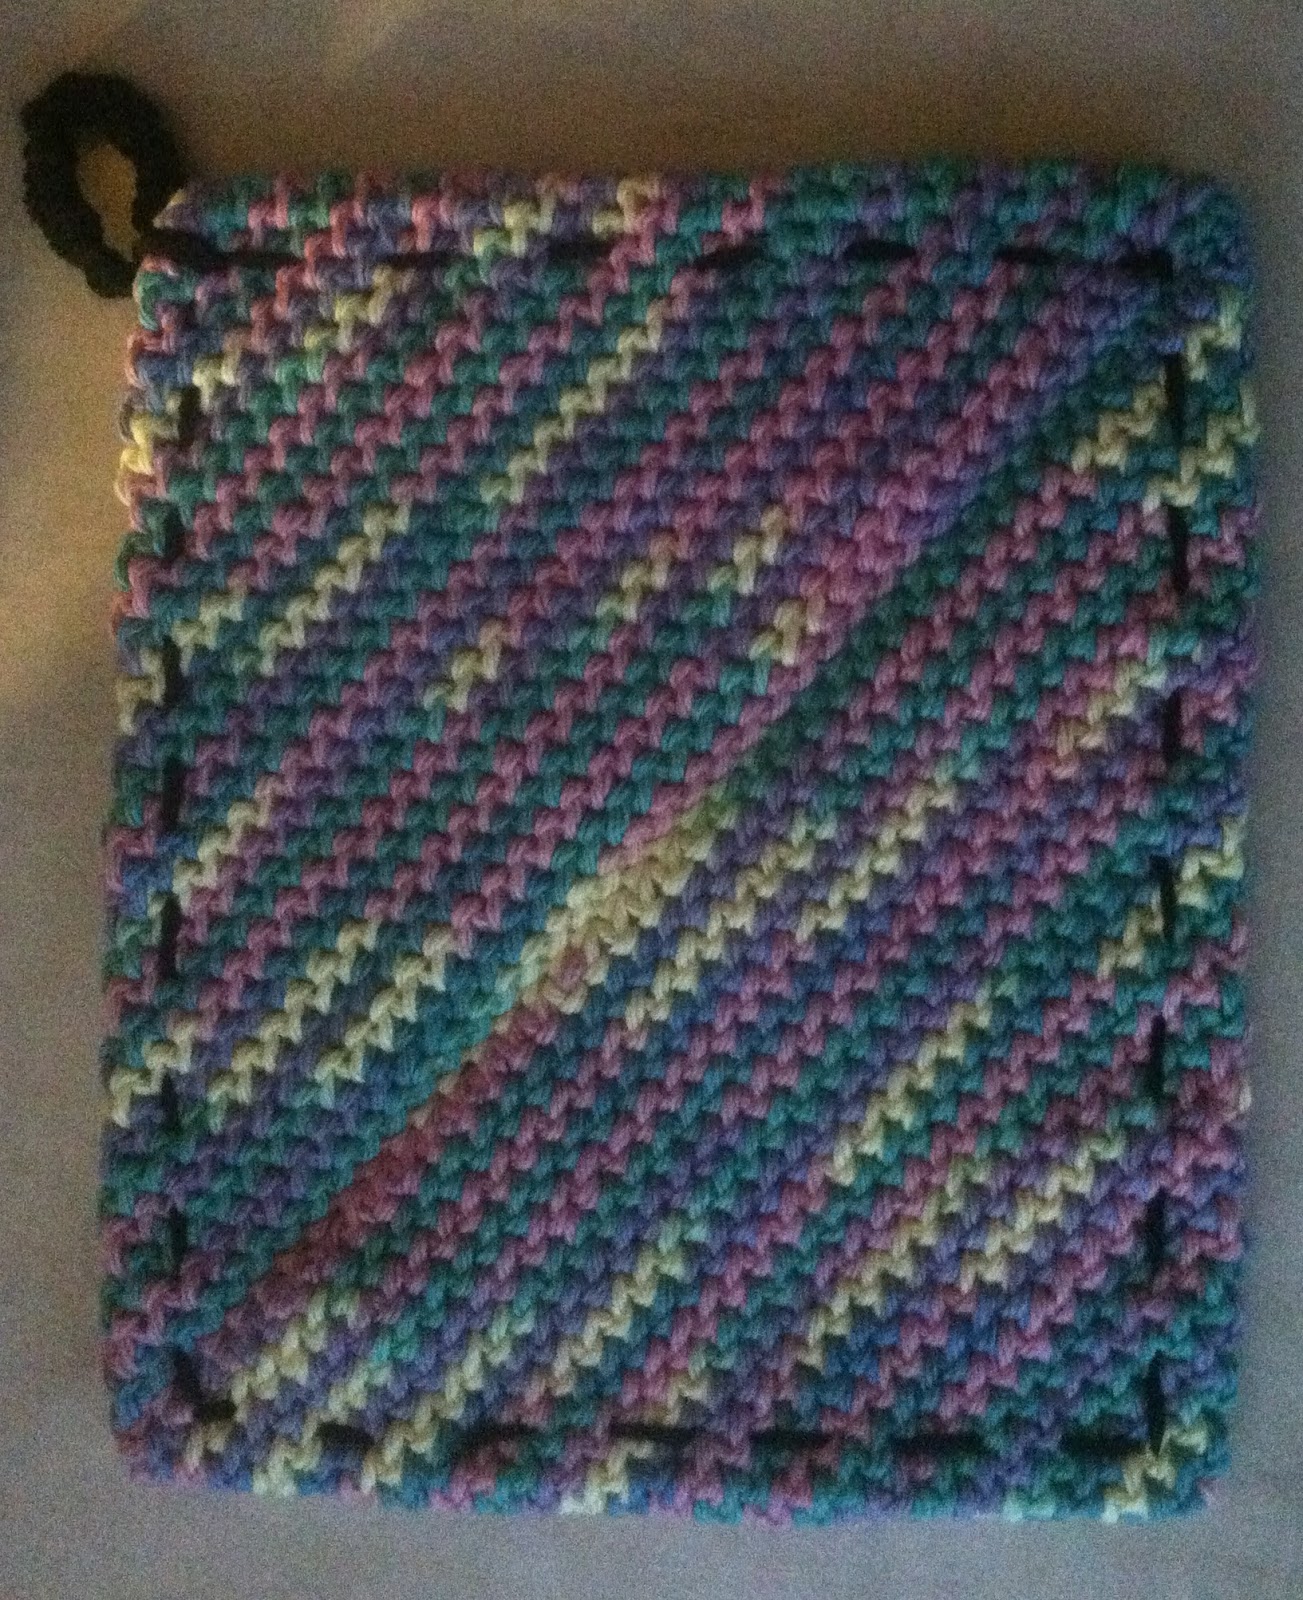
I made this oversized magic potholder (pattern can be found on ravelry.com).  My husband has very large hands and he loves to cook so this one's for you babe!  Again, the name of the pattern is Magic Potholder.  It is my favorite of all potholders because it is double thickness, it is so simple, no counting really, no fuss, no muss!  Love it!

Thursday, May 14, 2015

Like Spiral Scrubbies only easier!

 
This shows how small the remaining hole will be when you have reduced the backside to close.  I secured the yarn, cut and threaded on a tapestry needle to make it easier to to stitch around the opening which will allow me to pull the yarn in a drawstring fashion to complete the close.

Here I am just beginning to stitch around the opening.

My last stitch.  I have stitched all the way around the opening and I am now ready to pull the yarn and close the opening.

I have pulled tightly and have closed my center.  Now I just need to align the centers of front and back and stitch through all layers a few times, hide however much yarn I wish to hide, cut and complete!

I am now just going back through the centers (front and back) to make sure both centers are 100% closed up!  You don't really have to do this step, but I am burying yarn anyhow so I am just making sure I have tight centers.

I love these things!  They are very effective for cleaning and very fast to make.  Make them a little larger than desired as they will shrink a bit in the washer.  You live, you learn!  ha


These are like the ever popular spiral scrubbies by Judith Prindle except they are not spiral and they are so simple a caveman could do it!  These also work up extremely fast!

Make a magic circle and crochet 6 single crochet in the middle of your ring.  If you hate the magic ring or can't quite figure it out, you can always chain 2, 6 single crochet in 2nd loop from hook.

Rnd 1: 6 sc in magic ring. —6 sts 
Rnd 2: 2 sc into each st around —12 sts
Rnd 3: (Sc in next st, 2 sc in next st) around —18 sts
Rnd 4: (Sc in next 2 sts, 2 sc in next st) around —24 sts
Rnd 5: (Sc in next 3 sts, 2 sc in next st) around —30 sts
Rnd 6: (Sc in next 4 sts, 2 sc in next st) around —36 sts
Rnd 7: (SC in next 5 sts, 2 sc in next st.) around -- 42 sts
Rnd 8:(SC in next 6 sts, 2 sc in the next st) around -- 48 st.
Rnd 9:  SC in each st around -- 48 sts
Rnd 10:  SC in each st around -- 48 sts

Now you are basically doing the reverse side in pretty much reverse.

Backside
Rnd 1:  (SC first 6 sts, SC2tog next two sts) around.

If you do happen to have extra stitches at the end, just SC in each spare stitch

Rnd 2: (SC first 5 sts, SC2tog next two sts) around
Rnd 3: (SC first 4 sts, SC2tog next two sts) around
Rnd 4: (SC first 3 sts, SC2tog next two sts) around
Rnd 5: (SC first 2 sts, SC2tog next two sts) around
Rnd 5: (SC2tog next two sts) around

If it doesn't come out even on any particular round, just SC in the "spares".  It's not a big deal since these are for dishes/cleaning.

Leave tail long so you can finish, tie off, cut and make stitches all around the tiny open circular space on the backside, gather until closed.  Flatten disc and align centers and then stitch through all layers front to back, back to front weaving in and out of individual strands from time to time to secure your end.  Continue working your tail until you are confident it is secure, cut remaining tail and voila!  Done!

Note:  If you would like to make these bigger just continue adding one stitch before doing the increase (2 SC in next stitch) and then the same on the backside.  On the backside you will subtract one and SC in each stitch and SC2tog in the last two stitches of that particular set of stitches.  For example, if you stopped at 6 SC, 2 SC in next stitch, on the backside you would SC 5 sts, SC2tog and continue to decrease on the backside.

Good luck and have fun!

My Perfect Washcloth

I love this washcloth because it is very pliable, easy to make and diverse.  You can make it as big or as small as you want it to be!

I used Peaches & Creme Cotton, but any cotton yarn will work fine.  Cotton is perfect for washcloths, dishcloths or anything that needs to be able to absorb water.  I reluctantly used a dishcloth my mother made many many years ago and much to my surprise, I loved it.

H or I hook
Peaches & Creme or your preferred cotton yarn

1.  Chain 31, work single crochet across to other end, chain 1 and turn
2.  Alternate FLO and BLO single crochet stitches across.


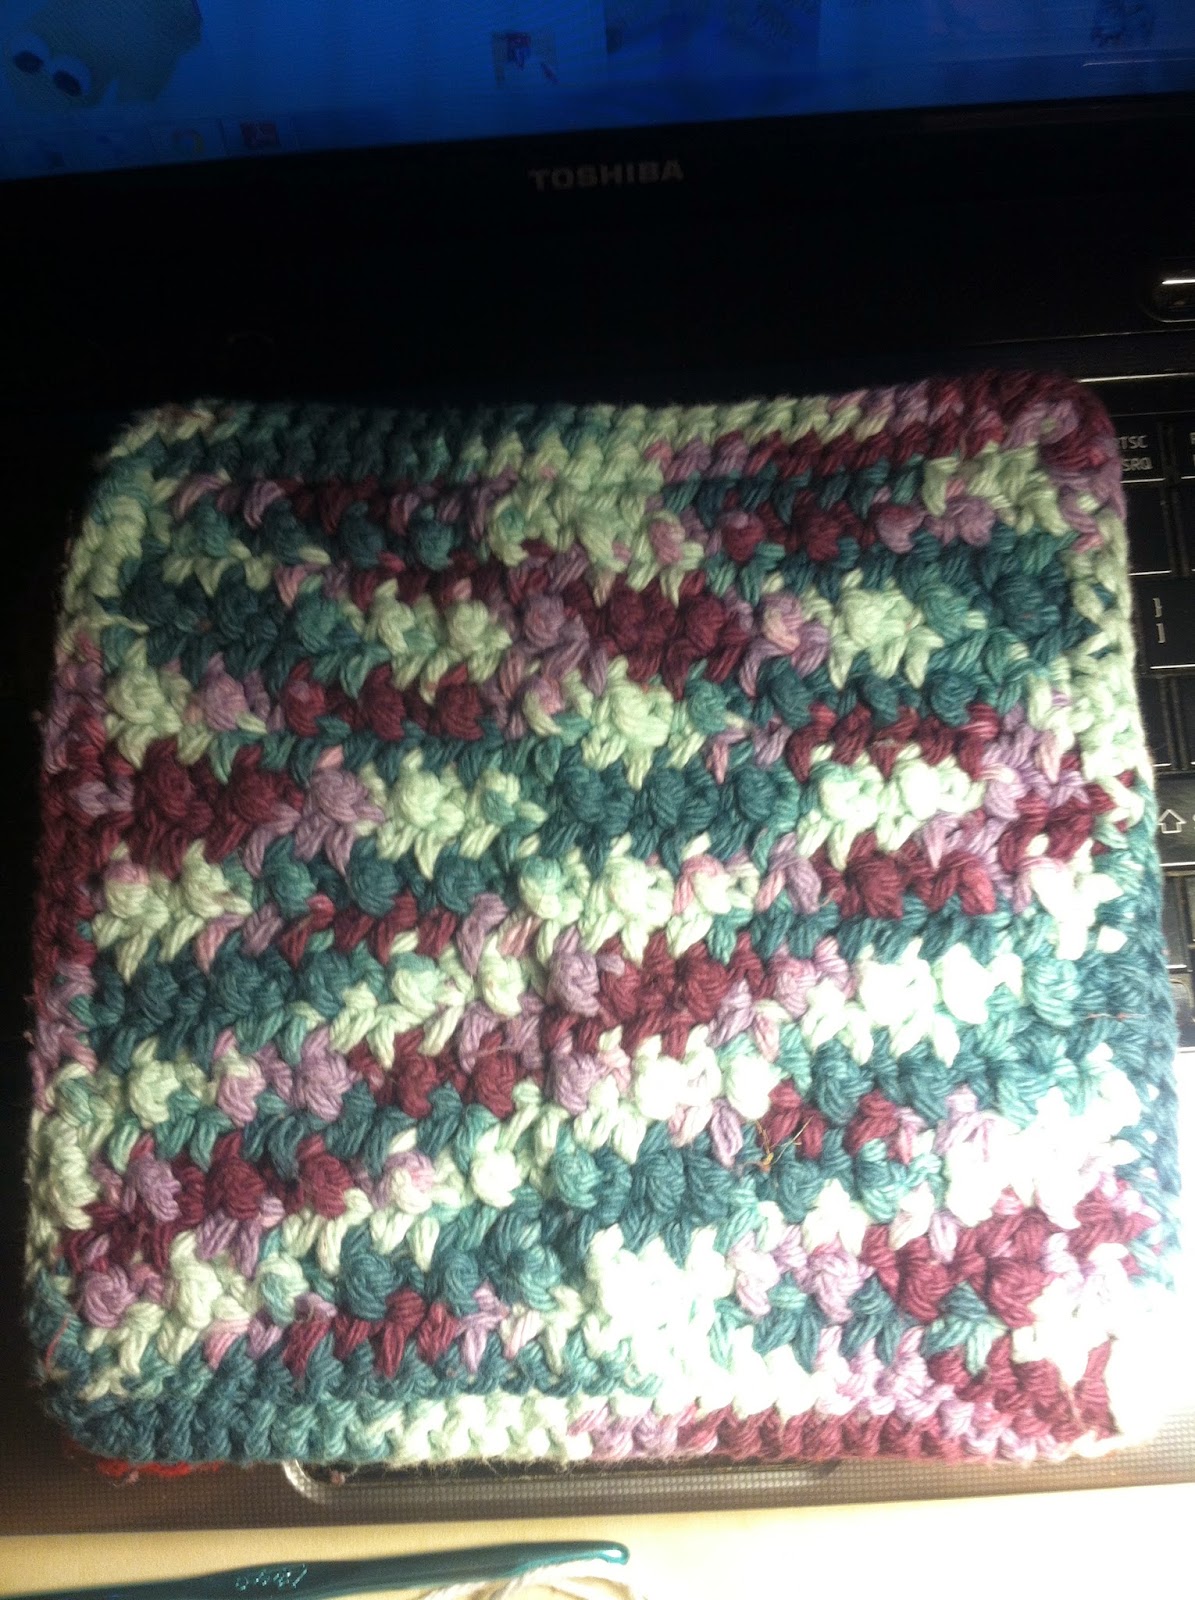
Finished washcloth --


This is the same washcloth as above using a bigger J hook and different colored yarn.

Washcloth #2

1.  Chain 26, beginning in  second chain from hook, SC 25 stitches to the end, chain two, turn.
2.  DC in each SC across to end.  Chain one, turn.
3.  SC, FLO in the next 25 stitches, chain two, turn.

Repeat steps 2 and 3 to the desired length.


Washcloth #3

Again, using Peaches & Creme Cotton, H Hook.

I chained 26 and then alternated the following --

Two rows of DC, one row of SC. -- to desired size


Washcloth #4

Peaches & Creme Cotton, J Hook

Two rows on either end HDC and all rows in between SC.